Architecture Model Making Tutorial (Using a Real Project)
2023年 7月 16日0
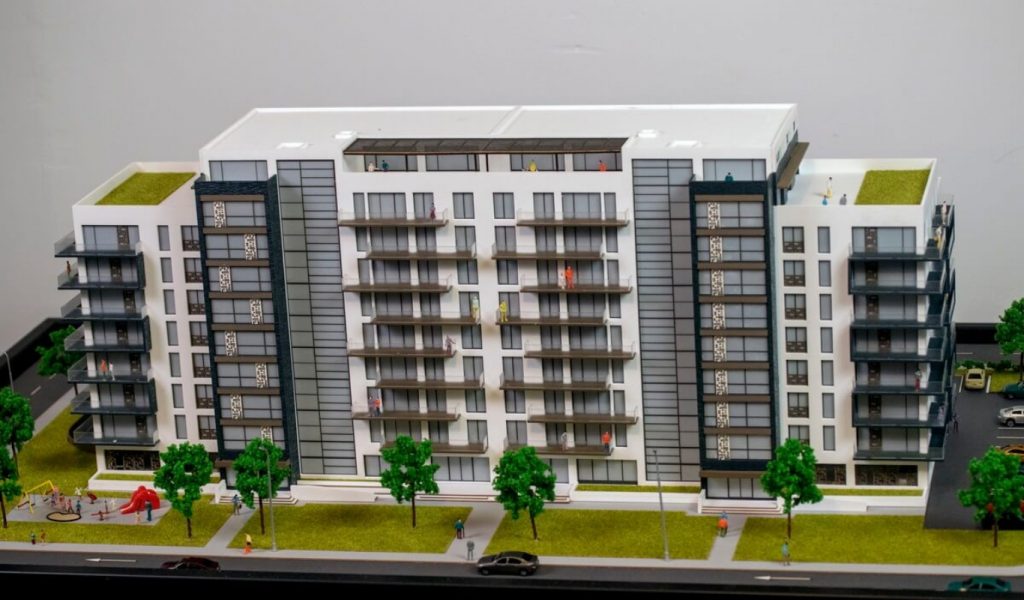
For this guide, we’ll use a small residential building as the subject. You can adapt the process to suit your specific project.
- Gather materials and tools: Collect materials such as foam board, basswood, balsa wood, and clear plastic sheets for windows. Prepare tools like cutting mats, hobby knives, metal rulers, T-squares, glue, and fine-tip markers.
- Choose a scale: Determine an appropriate scale for the model. For a small residential building, a 1:50 or 1:100 scale could be suitable.
- Create a base: Cut a foam board or plywood piece to serve as the base of the model. The base should be large enough to accommodate the building and any landscape features.
- Transfer the design: Study the architectural drawings and transfer the floor plans, elevations, and other relevant details onto the chosen model materials. Measure and mark the pieces accurately, keeping the chosen scale in mind.
- Cut out the elements: Carefully cut out the walls, floors, and roof elements using a sharp hobby knife. Be precise and make clean cuts for a professional appearance.
- Assemble the structure: Start with the ground floor walls and work your way up, using glue to attach the pieces together. Use a T-square or another right-angle tool to ensure the walls are straight and aligned correctly. Assemble the floors and roof using the same process.
- Add windows and doors: Cut clear plastic sheets for windows and attach them to the openings using glue. For doors, cut and assemble thin strips of basswood or balsa wood to create doorframes and doors, and attach them to the model.
- Add exterior details: Use basswood or balsa wood strips to create façade elements like cladding, trim, and railings. Attach these elements to the model using glue, ensuring they are straight and aligned properly.
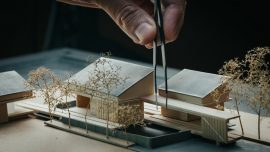
- Create landscape elements: Use materials like sponge, wire, or plastic foliage to create trees, bushes, and other landscaping features. Attach these elements to the base using glue or pins. You can also add details like walkways or fences using basswood or balsa wood strips.
- Assemble context elements (optional): If your model includes context elements like neighboring buildings or street layouts, create and assemble these components using the same techniques as steps 4-8.
- Final touches and presentation: Once all the elements are assembled, check the model for any imperfections or inaccuracies. Make any necessary adjustments and clean your model to remove any glue residue or debris. Present your model on a clean, level surface to showcase your design effectively.
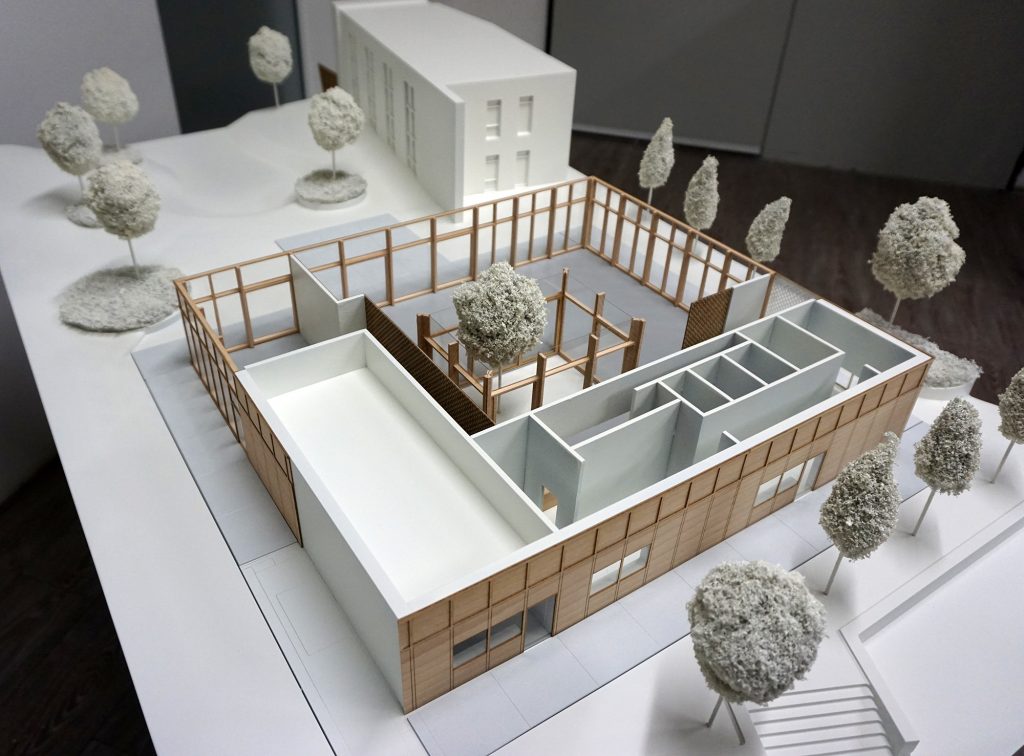
This step-by-step guide provides a basic overview of how to create an architectural model using a real project as an example. Adapt the process to suit your specific project and explore various materials, tools, and techniques as you gain experience in model making.

0 تعليقات
اكتب تعليق