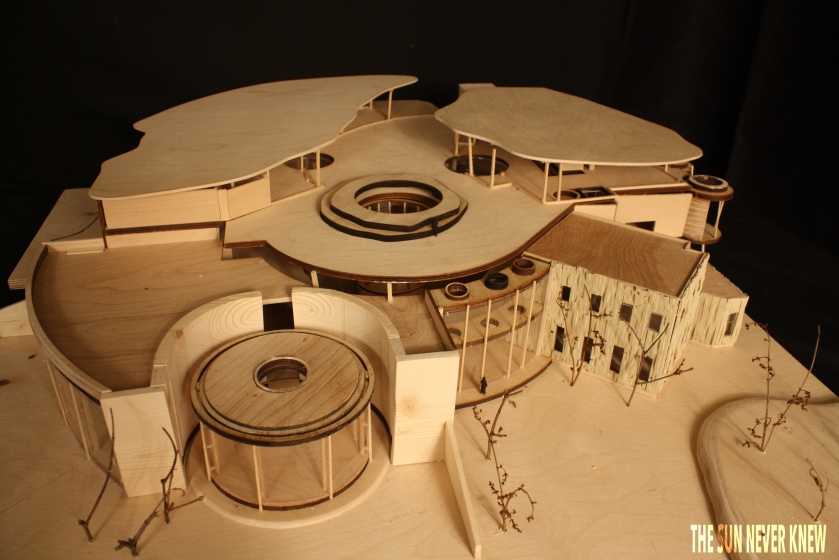
What is the model making process?
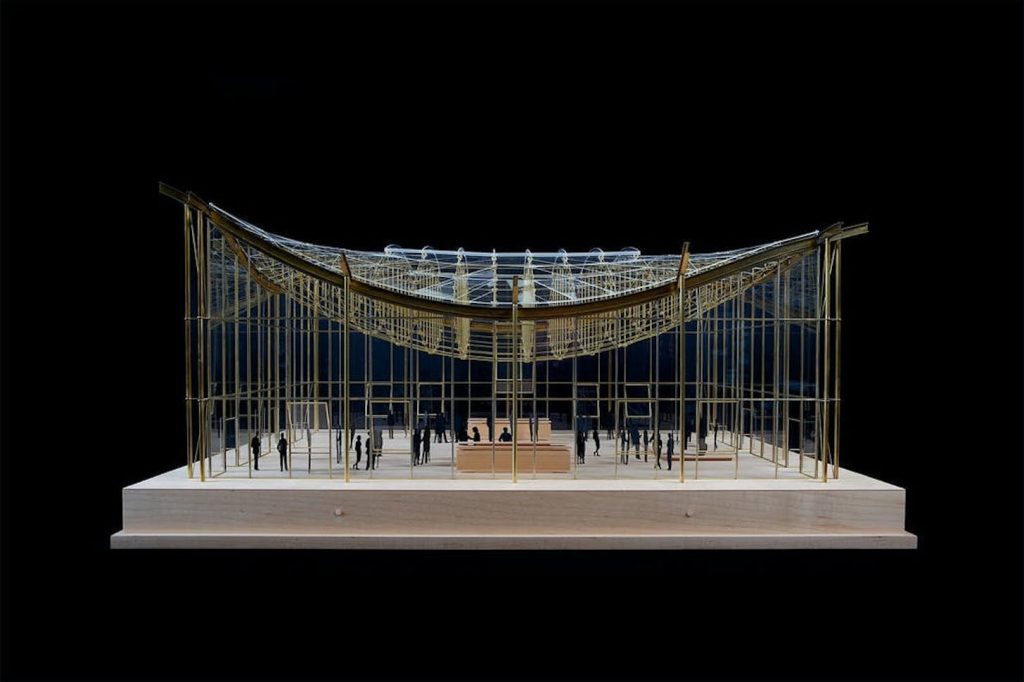
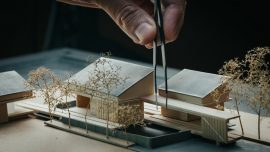
The model making process involves a series of steps to create a physical representation of a design, concept, or structure. This process varies depending on the type of model, the materials used, and the level of detail required. In the context of architectural model making, the process typically includes the following steps:
- Define the purpose: Determine the purpose of the model, such as conceptual exploration, design development, presentation, or marketing. The purpose will dictate the level of detail, materials, and scale required for the model.
- Choose the scale: Select an appropriate scale for the model based on the project’s size, purpose, and level of detail required. Common architectural model scales include 1:50, 1:100, and 1:200.
- Gather materials and tools: Collect the necessary materials for the model, such as foam board, cardboard, balsa wood, basswood, and acrylic. Prepare the required tools, including cutting mats, hobby knives, metal rulers, T-squares, glue, and fine-tip markers.
- Transfer the design: Using the architectural drawings, plans, and elevations, transfer the design onto the chosen materials. Measure and mark the elements accurately, taking into account the chosen scale.
- Cut out the elements: Carefully cut out the individual components of the model, such as walls, floors, and roofs, using a sharp hobby knife or other cutting tools. Make clean, precise cuts to ensure a professional appearance.
- Assemble the structure: Begin assembling the model by gluing the walls, floors, and other structural elements together. Use a square or T-square to ensure that your connections are straight and aligned properly.
- Add details and finishes: Once the basic structure is assembled, add architectural details such as windows, doors, and cladding. You can also paint or apply finishes to the model to enhance its appearance and realism.
- Create landscape elements: If your model includes landscape features, create trees, plants, and other elements using materials like wire, sponge, or plastic foliage. Attach these elements to the base using glue or pins.
- Assemble context elements (optional): If your model requires contextual elements such as neighboring buildings or street layouts, create and assemble these components using the same techniques as in steps 4-7.
- Final touches and presentation: Once all the elements are assembled, check your model for any imperfections or inaccuracies. Make any necessary adjustments and clean your model to remove any glue residue or debris. Present your model on a clean, level surface to showcase your design effectively.
The model making process can be adapted and expanded based on the specific project requirements, materials, and techniques used. It is important to practice and refine your model making skills to create high-quality, professional models that effectively communicate your design ideas.

0 تعليقات
اكتب تعليق