ニュース

ブログ

What scale should the architectural model be?
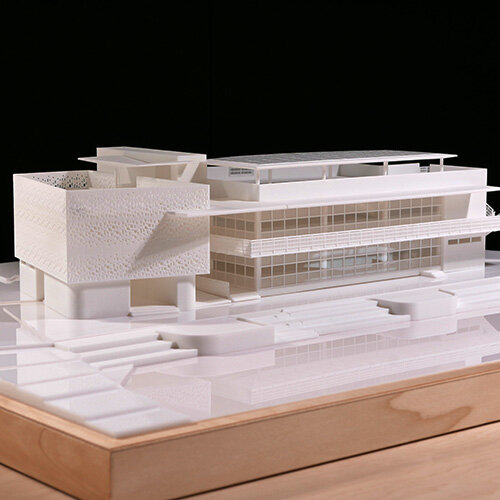
The scale of an architectural model depends on its purpose, the level of detail required, and the size constraints of your workspace or presentation area. There is no one-size-fits-all answer to the appropriate scale, but here are some common scales used in architectural models and their typical applications:

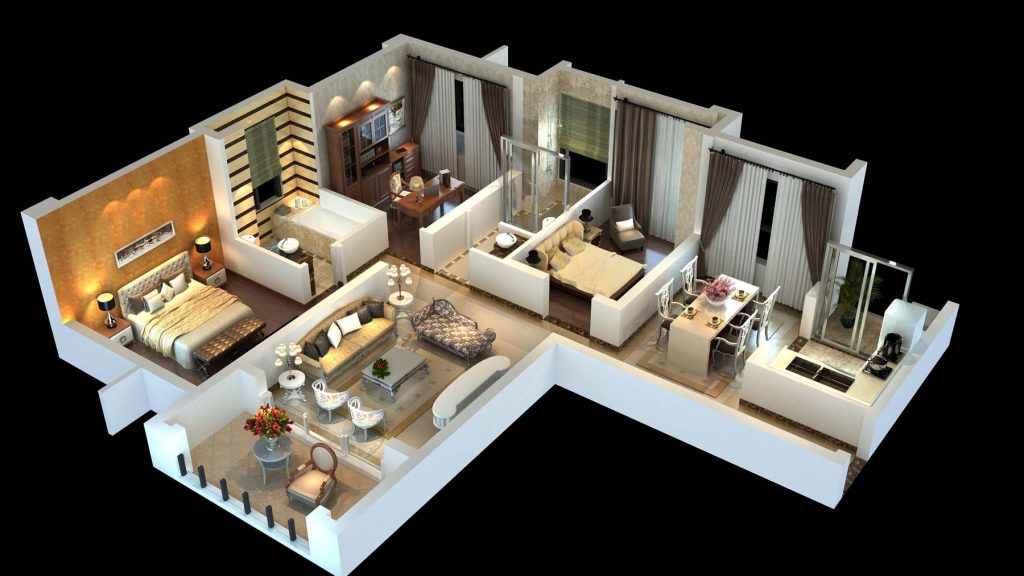
  1. 1:20 or 1:25 – These scales are used for detailed interior models or small-scale structures, such as furniture or room layouts, where a high level of detail and accuracy is important.
  2. 1:50 – This scale is commonly used for residential or smaller commercial projects, where it is important to show the overall building design, including interior spaces, façade details, and some landscape features. At this scale, you can still show a reasonable level of detail without the model becoming too large or unwieldy.
  3. 1:100 – A popular scale for larger buildings or smaller urban projects, this scale allows for a balance between detail and size. It is suitable for showing the overall building form, massing, and context while still including some architectural details and landscape elements.
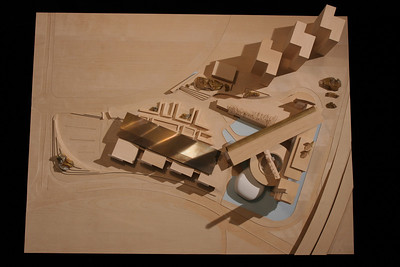
  4. 1:200 – This scale is often used for larger urban projects or master plans, where the focus is on the overall layout, spatial relationships, and context rather than individual building details. At this scale, you can represent large areas or multiple buildings while keeping the model size manageable.
  5. 1:500 or 1:1000 – These scales are appropriate for very large urban projects, campus plans, or city-wide master plans. At these scales, the focus is on overall massing, spatial relationships, and context, with little to no detail on individual buildings.

When choosing a scale for your architectural model, consider the following factors:

  • Purpose: Is the model for conceptual exploration, design development, presentation, or another purpose? The model’s purpose will determine the level of detail required and influence the choice of scale.
  • Level of detail: How much detail do you want to include in the model? Smaller scales may not allow for the representation of intricate details, while larger scales may become unwieldy or time-consuming to construct.
  • Size constraints: Consider the size of your workspace, presentation area, or transportation requirements. The chosen scale should result in a model that fits comfortably within these constraints.
  • Context: If your model needs to include surrounding buildings, landscape elements, or other contextual features, select a scale that allows for the representation of these elements without overwhelming the model or sacrificing detail.

Ultimately, the scale of your architectural model should be determined by the specific requirements of your project and the factors mentioned above. Choose a scale that best represents your design and effectively communicates your ideas while remaining practical in terms of size and level of detail.

ブログ

Planning Your Architectural Model

Planning your architectural model is a crucial step in ensuring a successful outcome. A well-planned model helps you communicate your design effectively and allows you to work efficiently. Here are some steps to help you plan your architectural model:

  1. Define the purpose: Determine the purpose of your model. Is it a conceptual model to explore design ideas, a presentation model to showcase a finished design, or a study model to analyze specific aspects of the project? The purpose will inform the level of detail, scale, and materials you choose.
  2. Choose a scale: Select an appropriate scale for your model based on its purpose and the level of detail required. Common architectural model scales include 1:50, 1:100, 1:200, and 1:500. Ensure the scale is large enough to convey your design effectively but also manageable in size.
  3. Study the design: Review your architectural drawings and design documentation, paying close attention to dimensions, details, and materials. Make note of any complex elements or unique features that may require special attention or techniques during model construction.
  4. Select materials: Choose the materials that best suit your model’s purpose, scale, and level of detail. Consider the properties of each material, such as weight, texture, and ease of manipulation. Some common materials include foam board, cardboard, balsa wood, basswood, acrylic, and styrene.
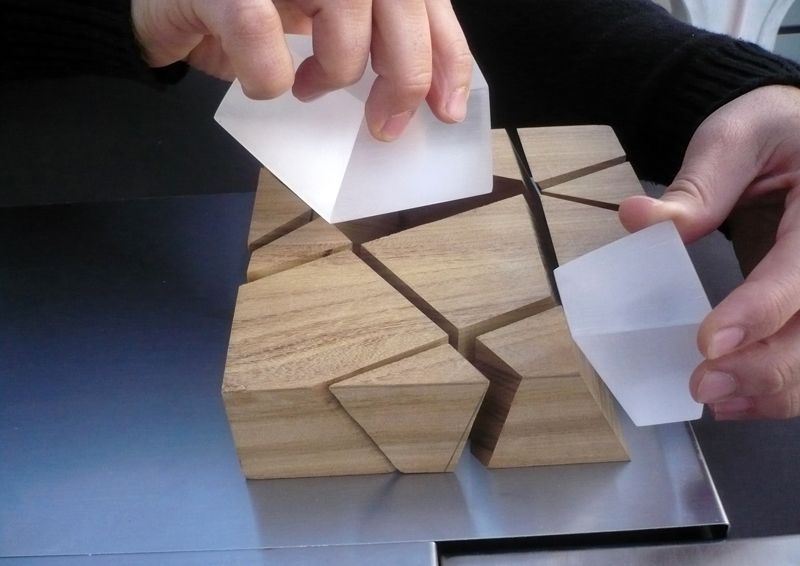
  5. Create a timeline: Estimate the time it will take to complete your model and create a schedule that breaks down the various tasks and stages of construction. Allocate sufficient time for each task, and consider any deadlines you may have for the project.
  6. Plan the structure: Develop a plan for how your model will be assembled, considering factors such as the base, structural elements, and façade treatments. Identify the order in which different components will be constructed and assembled.
  7. Identify challenges: Recognize any potential challenges or difficulties that may arise during the construction of your model, such as complex geometries, intricate details, or material limitations. Develop strategies for addressing these challenges and consider any specialized tools or techniques that may be required.
  8. Prepare your workspace: Organize your workspace to ensure that you have enough room to work comfortably and safely. Gather all the necessary tools and materials, and ensure that your work surface is clean and free of clutter.
  9. Document the process: Plan to document your model-making process through photographs, sketches, or notes. This will help you reflect on your work, track your progress, and create a record of your project for future reference or portfolio purposes.
  10. Seek advice: Consult with peers, instructors, or professional model makers for guidance, feedback, or advice on your model-making plan. Their experience and expertise can help you refine your approach and ensure a successful outcome.

By carefully planning your architectural model, you can work more efficiently, avoid potential challenges, and ultimately create a more effective and visually appealing representation of your design.

ブログ

Model Making Advice for Students

Model Making Advice for Students

Model making is an essential skill for architecture and design students. It allows you to explore your ideas, communicate your concepts, and develop your design skills. Here is some advice to help you improve your model-making skills as a student:

  1. Start with a clear concept: Before you begin making your model, ensure that you have a clear understanding of your design concept and objectives. Sketch out your ideas and create a plan for your model, including its purpose, scale, and the level of detail required.
  2. Choose the right materials: Select materials that are appropriate for your model’s purpose and scale. Consider the properties of each material and how they will contribute to the overall appearance and functionality of your model. Don’t be afraid to experiment with different materials and techniques.
  3. Be organized and prepared: Gather all the tools and materials you need before starting your model. Keep your workspace clean and organized, ensuring that you have enough space to work comfortably and safely.
  4. Measure and mark accurately: When cutting and assembling your model, always measure and mark your materials accurately. Use a ruler or T-square for straight lines and a compass or circle cutter for curved shapes. This will ensure that your model is precise and well-proportioned.
  5. Prioritize craftsmanship: Pay attention to the quality of your work and strive for neat, clean cuts and well-fitted joints. This will make your model look more professional and well-crafted, helping to communicate your design ideas more effectively.
  6. Be patient: Model making can be time-consuming and require a great deal of patience. Work carefully and methodically, taking your time to ensure that each element is accurately constructed and assembled.
  7. Practice makes perfect: The more models you make, the better you will become at model making. Experiment with different materials, techniques, and scales to develop your skills and find your own personal style.
  8. Learn from others: Seek advice and feedback from your peers, instructors, or professional model makers. Learn from their experiences and incorporate their suggestions into your own model-making practice.
  9. Document your work: Take photos of your models throughout the design and construction process. This will help you build a portfolio of your work and allow you to reflect on your progress and development as a model maker.
  10. Always think about the story: Remember that your model is a communication tool, designed to tell the story of your project. Consider how your model conveys your design concept and how it can be used to engage and inform your audience.

By following this advice and continually practicing and refining your model-making skills, you will become a more proficient and confident model maker. This will not only benefit your educational experience but also prepare you for a successful career in architecture and design.

ブログ

How to Make an Architectural Concept Model

Creating an architectural concept model is an essential part of the design process, helping architects explore and communicate their ideas. Concept models are generally simple, abstract representations that focus on the basic geometry and spatial relationships of the design. Here’s a step-by-step guide to making an architectural concept model:

  1. Understand the project brief: Begin by familiarizing yourself with the project requirements, site constraints, and design objectives. This will help you identify the key elements and aspects that need to be represented in your concept model.
  2. Develop your design concept: Sketch your ideas and explore different design options, considering factors such as form, function, and context. Keep in mind the project brief and any specific requirements or constraints.
  3. Choose a scale: Select an appropriate scale for your model, ensuring that it is large enough to convey the design concept effectively but also manageable in size. Common scales for concept models include 1:100, 1:200, or 1:500.
  4. Gather materials and tools: Collect the materials and tools you’ll need for the model, such as foam, cardboard, balsa wood, or basswood, as well as cutting tools, adhesives, and measuring devices.
  5. Create a base: Using your chosen material, create a base for your model. Ensure that it is large enough to accommodate your design and any surrounding context that needs to be represented.
  6. Build the basic form: Start by constructing the basic form or massing of your design. This could involve cutting and assembling geometric shapes to represent the overall structure or using a more organic, sculptural approach to explore the form. Keep in mind the scale and proportion of your design.
  7. Refine the form and spatial relationships: Once the basic form is established, begin refining the design by adjusting the size, shape, or orientation of the elements. Consider how different elements relate to each other and the surrounding context, and adjust as needed to achieve the desired spatial relationships.
  8. Add context or site elements (optional): Depending on the purpose of your concept model, you may want to include some contextual or site elements, such as neighboring buildings, streets, or landscape features. This can help to further illustrate the relationship between your design and its surroundings.
  9. Evaluate and iterate: As you build your concept model, continually evaluate and refine your design. This process may involve making adjustments, adding or removing elements, or exploring alternative design options. Remember that concept models are meant to be an iterative tool, allowing you to test and refine your ideas throughout the design process.
  10. Present your model: Once your architectural concept model is complete, use it as a communication tool to share your design ideas with clients, colleagues, or stakeholders. Be prepared to explain the key elements and aspects of your design, as well as any specific decisions or considerations that informed your concept.

Remember that the purpose of a concept model is to explore and communicate your design ideas, so focus on the essential elements and aspects that convey the overall concept. Don’t be afraid to experiment and iterate as you build your model, as this process can help you better understand and refine your design.

ブログ

What Materials Do You Need to Make an Architectural Model?

The materials you need to make an architectural model will depend on the purpose, scale, and level of detail required for the model. Here is a list of some common materials and tools you may need for architectural model making:

  1. Base materials:
    • Foamboard or chipboard (for creating a base or foundation for your model)
    • Cardboard or foam sheets (for creating basic forms or massing)
    • Balsa or basswood (for creating structural elements, such as columns, beams, or walls)
    • Acrylic or styrene sheets (for creating transparent or detailed elements, such as windows or façade treatments)
    • Wire or metal rods (for creating structural elements or landscape features)
  2. Adhesives and bonding agents:
    • White glue (PVA glue) or wood glue (for bonding wood, paper, or cardboard)
    • Cyanoacrylate glue (super glue) (for bonding plastic or metal materials)
    • Hot glue gun (for quick bonding of various materials)
    • Spray adhesive (for attaching large surfaces or applying materials like grass or ground cover)
  3. Cutting and shaping tools:
    • Hobby knife or utility knife (for cutting paper, cardboard, foam, or thin wood)
    • Metal ruler or T-square (for guiding straight cuts)
    • Cutting mat (to protect your work surface while cutting)
    • Scissors (for cutting paper or thin materials)
    • Fine-toothed saw (for cutting wood or plastic materials)
    • Sandpaper or sanding block (for smoothing and shaping materials)
  4. Measuring and marking tools:
    • Tape measure or ruler (for taking measurements)
    • Compass or circle cutter (for creating precise circles or arcs)
    • Pencil or fine-tip marker (for marking measurements or cutting lines)
  5. Paints and finishes:
    • Acrylic or watercolor paints (for adding color and detail to your model)
    • Paintbrushes (in various sizes for different levels of detail)
    • Clear varnish or sealant (for protecting and finishing your model)
  6. Landscape materials:
    • Model grass, ground cover, or foliage (for creating realistic landscapes)
    • Clay or sculpting materials (for creating terrain, rocks, or other landscape features)
    • Model trees or shrubs (for adding vegetation to your model)
  7. Miscellaneous materials:
    • Masking tape or painter’s tape (for masking off areas while painting)
    • Toothpicks or skewers (for applying glue or holding small elements in place)
    • Tweezers or needle-nose pliers (for handling small or delicate components)

Remember that the materials and tools you need will depend on your specific project and its requirements. Before starting your architectural model, make a list of the materials and tools you’ll need based on the purpose, scale, and desired level of detail.

ブログ

What Is the Purpose of Architectural Models?

Architectural models serve multiple purposes throughout the design and development process. They are physical, three-dimensional representations of a building or structure that help architects, clients, and stakeholders visualize and understand the project. The primary purposes of architectural models include:

Design exploration: During the initial stages of a project, architects use models to explore and test various design ideas, forms, and spatial relationships. Conceptual models help identify potential issues, refine the design, and evaluate different options before proceeding to more detailed stages.

Communication: Architectural models are an effective means of communicating design ideas and proposals to clients, stakeholders, and colleagues. They provide a clear, tangible representation of the project that is often easier to understand than drawings or digital renderings.

Design development: As the design progresses, more detailed models are created to study specific aspects of the project, such as materials, façade treatments, or structural systems. These models help architects refine their designs and make informed decisions about various design elements.

Contextual analysis: Models can be used to study the relationship between the proposed building and its surrounding context, such as neighboring structures, streetscapes, and landscape elements. This analysis helps architects ensure that their designs are sensitive to the existing environment and contribute positively to the urban fabric.

Presentation and marketing: Highly detailed, finished models are often used to showcase completed designs to clients, stakeholders, or the public. These presentation models can be an important part of marketing efforts for developers and architects, helping to secure funding, gain approval, or attract buyers and tenants.

Construction and fabrication: In some cases, architectural models may be used as reference tools during the construction process. These models can help contractors and fabricators understand complex geometries, connections, or assembly methods, reducing the potential for errors or misinterpretations on site.

Education and research: Architectural models are also used in educational settings, allowing students to study and analyze historical or contemporary buildings, as well as to develop and test their own design ideas.

In summary, architectural models serve as essential tools for architects and designers, enabling them to explore, communicate, and refine their designs, as well as to analyze context, present their work, and facilitate construction. The physical, tangible nature of models provides a unique and valuable means of understanding and evaluating architectural proposals.

ブログ

Classic Model Making Materials

Classic model making materials have been used for decades by architects, designers, and model makers to create scaled representations of their projects. Here is a list of some classic materials commonly used in model making:

  1. Cardboard: Cardboard is an affordable and versatile material, often used in early-stage conceptual models. It can be easily cut and manipulated to create different forms and structures.
  2. Foamboard: Foamboard, also known as foam core, is a lightweight material consisting of a foam center sandwiched between two layers of paper or cardstock. It is easy to cut and shape, making it ideal for creating architectural models with clean, straight edges.
  3. Balsa wood: Balsa is a lightweight, softwood that is easy to cut, carve, and shape. It is commonly used in architectural models for creating structural elements like columns, beams, and walls.
  4. Basswood: Basswood, also known as lime or linden wood, is another popular choice for model making. It is a hardwood with a fine grain, making it ideal for creating detailed components and intricate designs.
  5. Acrylic: Acrylic is a clear, durable plastic material often used for creating transparent elements like windows, skylights, or water features in architectural models. It can be cut and shaped using a variety of tools, including laser cutters.
  6. Styrene: Styrene is a plastic material that comes in sheets or strips and can be cut and shaped easily. It is often used for creating detailed elements like window frames, doors, and façade treatments in architectural models.
  7. Plaster: Plaster is a versatile material that can be used for creating detailed, textured surfaces in architectural models. It can be applied to a variety of surfaces and shaped or carved to achieve the desired look.
  8. Metal: Metals such as brass, aluminum, and copper can be used in architectural models for creating structural elements, decorative details, or façade treatments. They can be cut, bent, or soldered to create precise, intricate components.
  9. Clay: Clay is a malleable material that can be shaped and sculpted by hand to create organic forms or detailed elements in architectural models. It is often used for landscape elements like terrain, trees, or rocks.
  10. Paper: Paper is a lightweight, inexpensive material that can be used for creating simple, early-stage architectural models. It can be folded, cut, or glued to create various shapes and forms.

These classic model making materials have stood the test of time and continue to be used by architects and model makers worldwide. They offer a range of properties and possibilities, allowing model makers to create accurate, visually appealing representations of their designs.

ブログ

3 types of model making in architecture

In architecture, model making serves various purposes, from conceptual exploration to final presentations. There are several types of architectural models, each with its own function and level of detail. Here are three common types of model making in architecture:
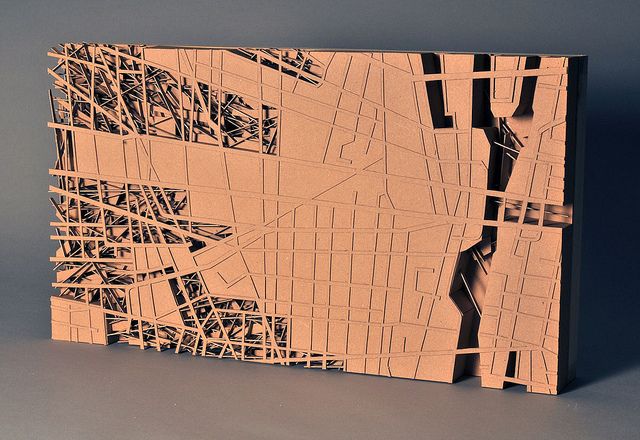
3 types of model making in architecture

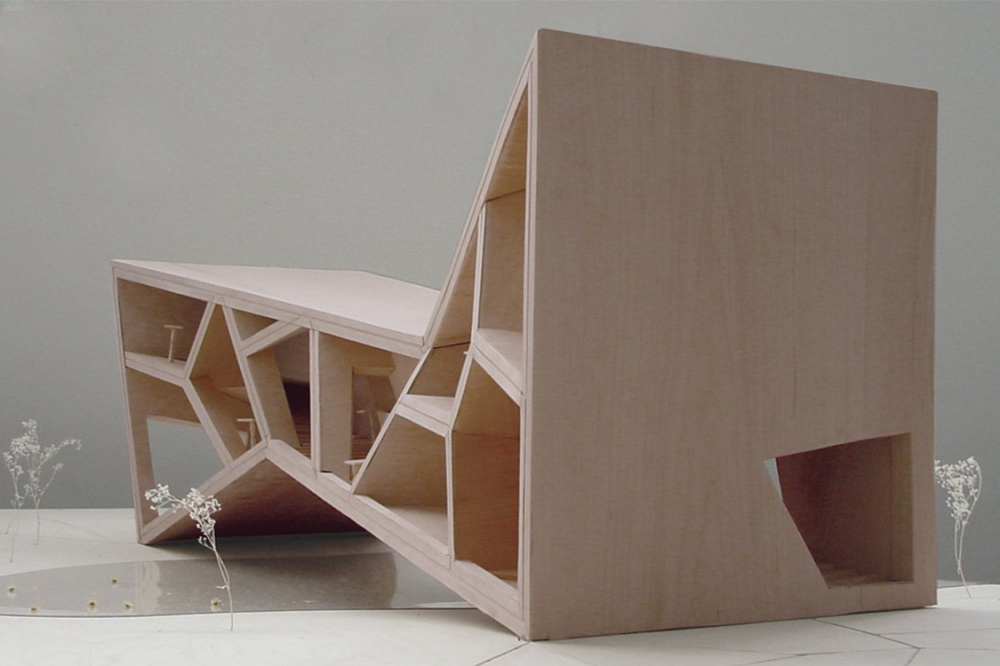
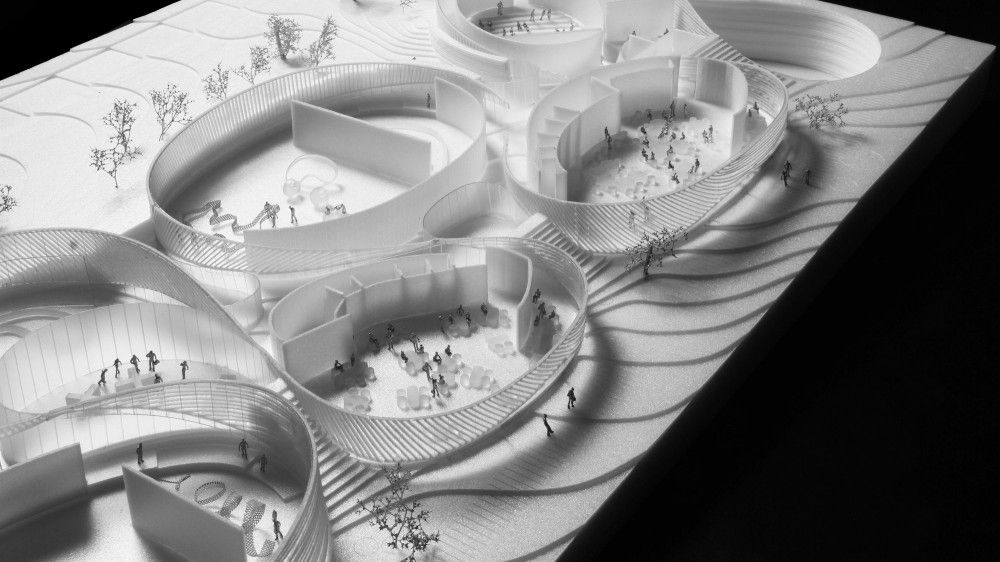
  1. Conceptual models: Conceptual models, also known as massing models or study models, are used in the early stages of the design process to explore the overall form, space, and organization of a project. These models are often simple, abstract representations that focus on the basic geometry and spatial relationships of the design. They can be made from a variety of materials, such as foam, cardboard, or paper, and may be quickly constructed and modified as the design evolves.
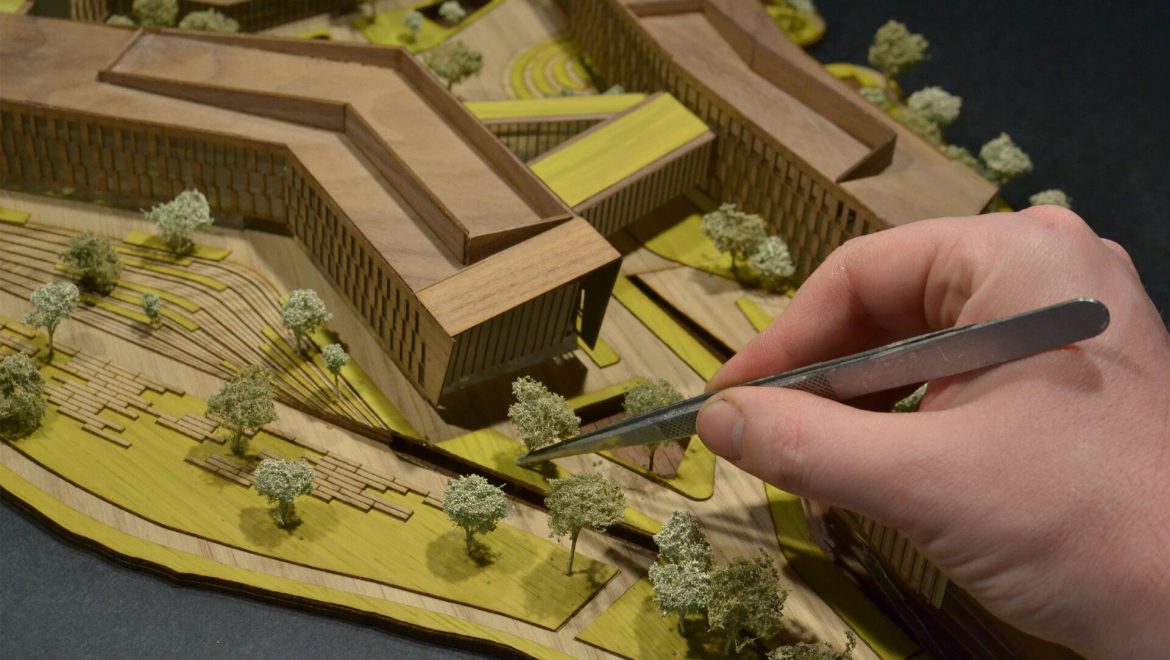
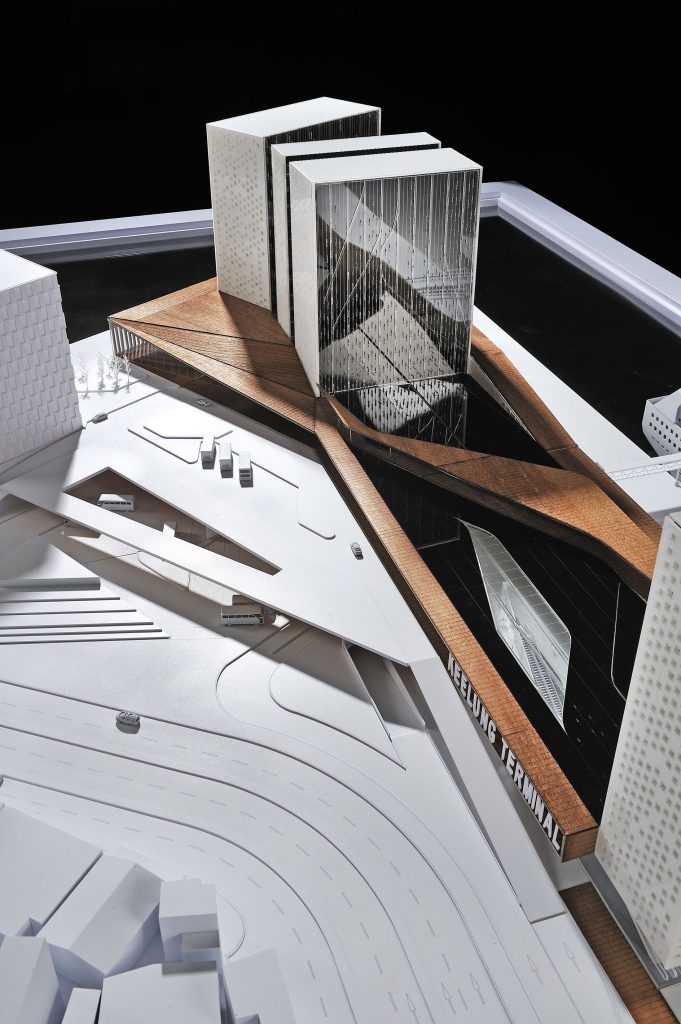
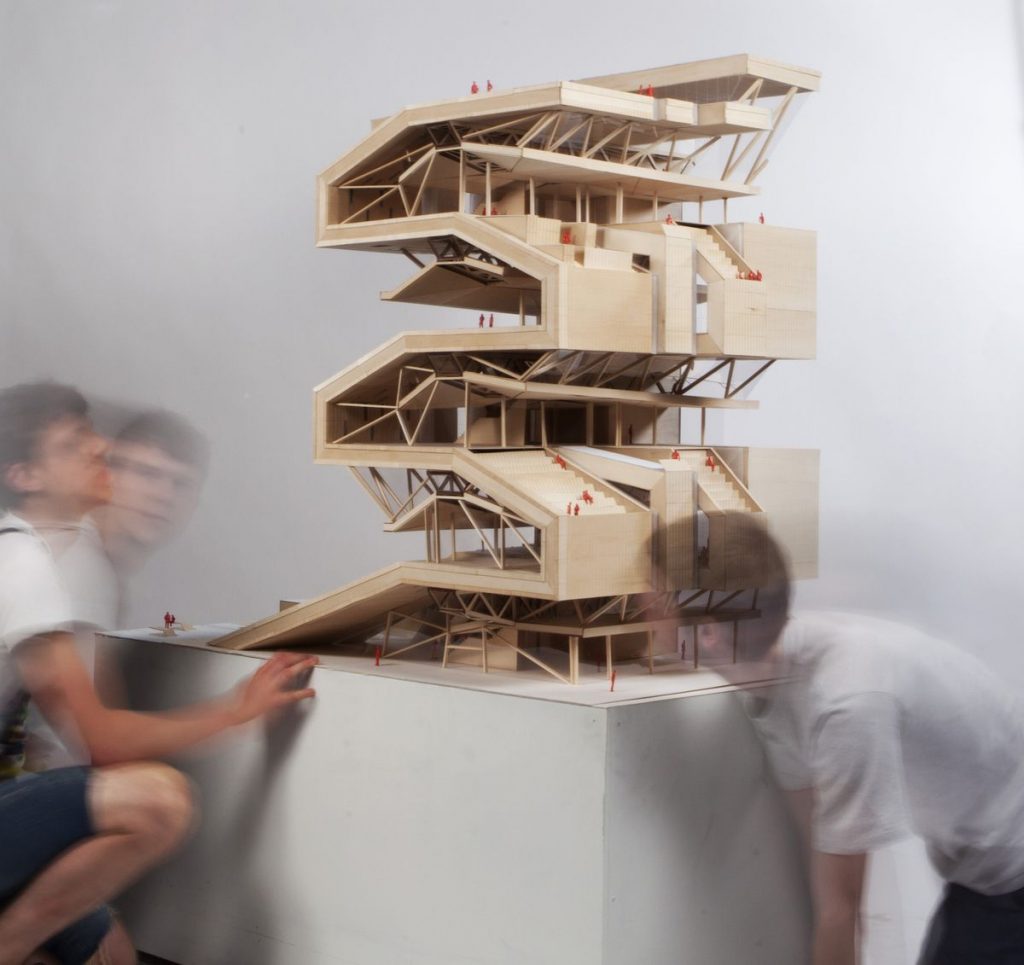
  2. Design development models: As the design process progresses, more detailed models are created to further refine and communicate the architectural concept. Design development models incorporate elements such as building materials, façade treatments, and structural systems. These models help architects, clients, and stakeholders visualize and understand the project’s appearance, scale, and context. Design development models can be made from materials like wood, plastic, and metal, and may also include landscaping elements to represent the surrounding environment.
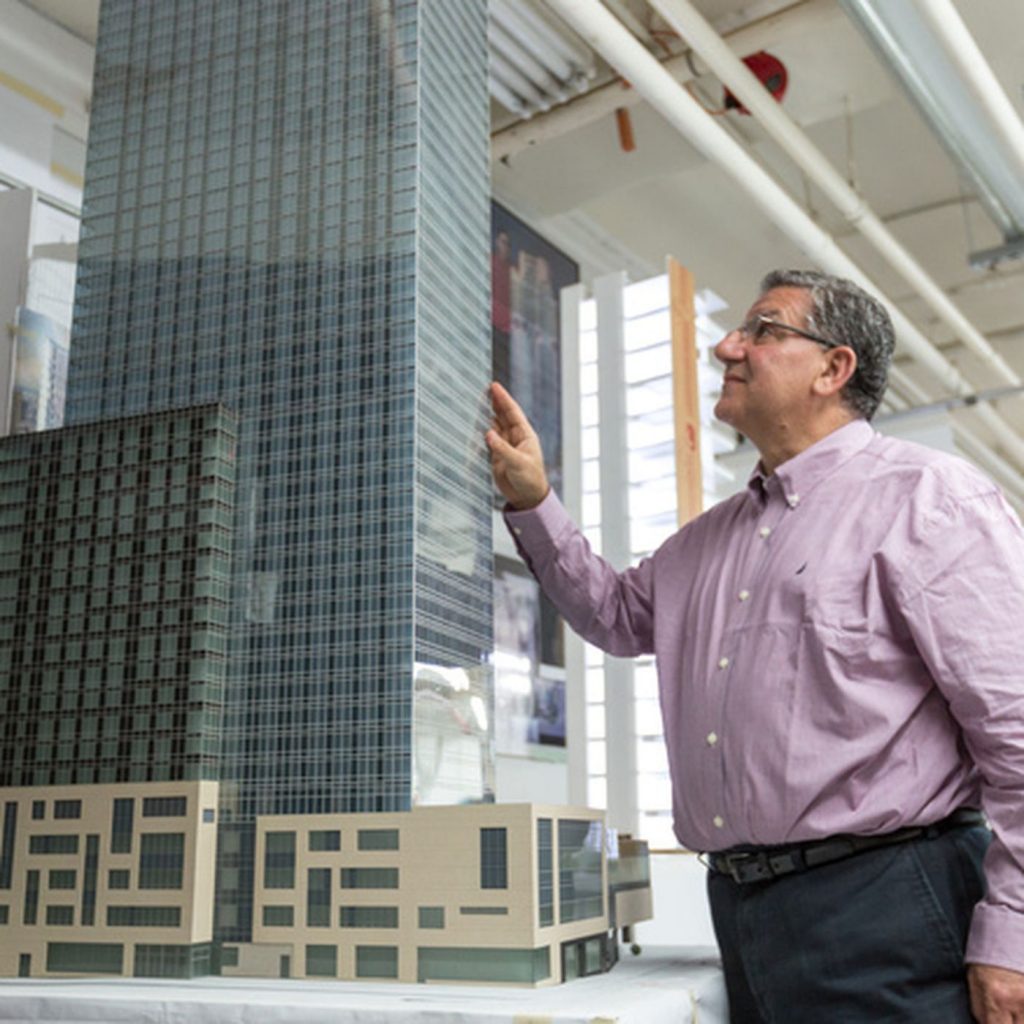
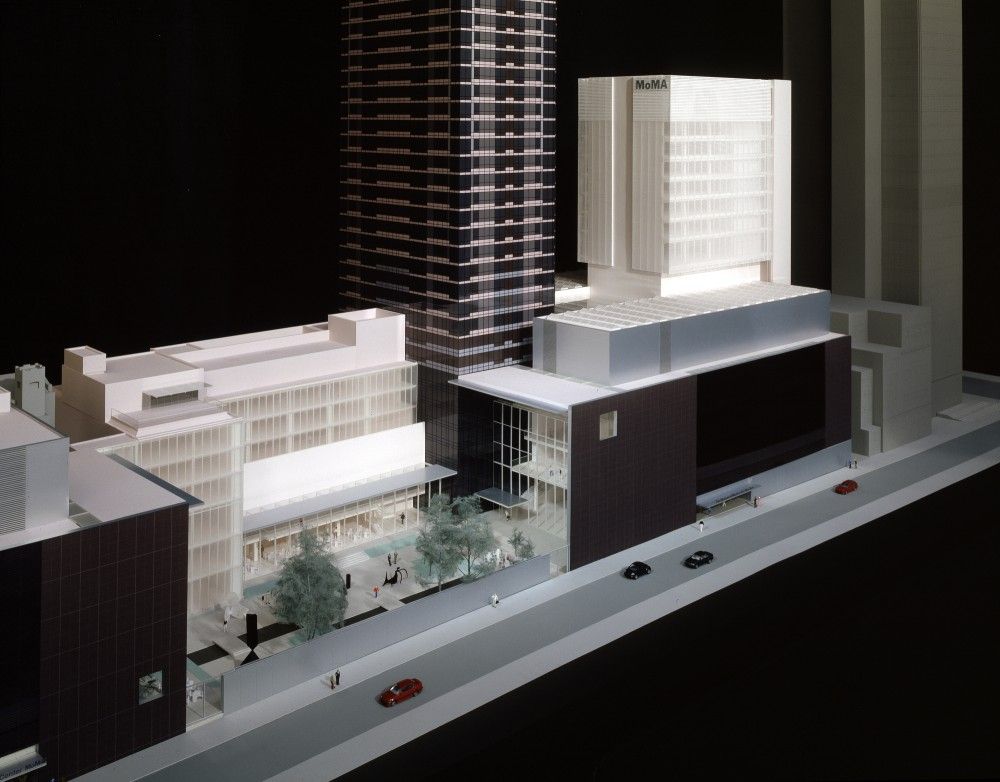
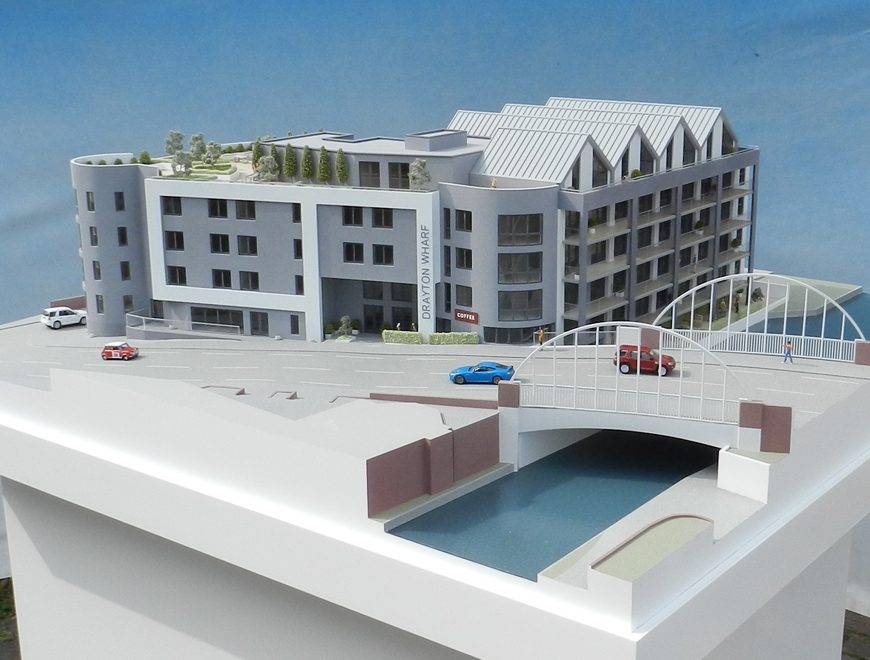
  3. Presentation models: Presentation models, also known as display models or final models, are highly detailed, finished models used to showcase a completed design to clients, stakeholders, or the public. These models are often built at a larger scale and with more refined materials, such as acrylic, wood, or metal, to accurately represent the proposed building’s appearance and finishes. Presentation models may also include intricate details like window treatments, interior furnishings, and landscaping to create a more realistic and visually appealing representation of the project.

These three types of model making in architecture serve different purposes throughout the design process, from initial exploration and development to final communication and presentation. By utilizing various types of models, architects can effectively convey their design ideas and better understand the spatial and contextual implications of their projects.

ブログ

The history of model making in architecture

The history of model making in architecture dates back thousands of years and has played a significant role in the development and communication of architectural ideas. Model making has evolved over time, both in terms of materials and techniques, as well as the level of detail and sophistication. Here’s a brief overview of the history of architectural model making:

Ancient civilizations: Early examples of architectural models can be found in ancient civilizations such as Egypt, Mesopotamia, and China. These models, often made of clay or wood, were used for religious or ceremonial purposes, as well as for planning and designing structures. Ancient Egyptian models of houses, granaries, and temples have been discovered in tombs, illustrating the importance of model making in their architectural process.

Greek and Roman periods: During the Greek and Roman periods, architects started using more advanced materials and techniques to create detailed models. The famous Roman architect Vitruvius emphasized the importance of models in the design process. The use of models in architecture persisted throughout the Middle Ages and the Renaissance, as architects continued to develop and refine their skills.

18th and 19th centuries: Architectural models became more widely used during the 18th and 19th centuries, with the rise of neoclassical and industrial architecture. Models were often displayed in exhibitions and used to secure commissions or funding for projects. This period also saw the development of specialized model-making workshops and the introduction of new materials like plaster and papier-mâché.

20th century: In the 20th century, modernist architects like Le Corbusier, Mies van der Rohe, and Frank Lloyd Wright used models as an essential part of their design process. Model making became increasingly sophisticated, with the introduction of new materials such as acrylic, foam, and metal. The rise of architectural education and the professionalization of architecture further emphasized the importance of model making in the design process.

Late 20th century and beyond: With the advent of computer-aided design (CAD) and 3D modeling software in the late 20th century, architectural model making underwent a significant transformation. Architects began using digital tools to create virtual models, which could be easily manipulated, analyzed, and visualized. The development of advanced fabrication techniques, such as 3D printing, laser cutting, and CNC milling, has further expanded the possibilities for architectural model making.

Today, architectural model making is a blend of traditional craftsmanship and modern technology. Physical models continue to play a vital role in the design process, while digital models offer new opportunities for exploration, analysis, and communication. The history of model making in architecture reflects the ongoing evolution of the field, as architects and designers seek new ways to express and realize their ideas.

ブログ

16 Tips To Improve Your Model-Making Skills

Improving your model-making skills requires dedication, practice, and patience. Here are 16 tips to help you enhance your abilities and create high-quality models:

16 Tips To Improve Your Model-Making Skills

  1. Practice regularly: Regular practice is key to improving your model-making skills. Work on different projects and experiment with various techniques to refine your abilities.
  2. Develop a strong foundation in architecture and design: Understanding architectural concepts, styles, and principles will help you create more accurate and visually appealing models.
  3. Master your tools: Familiarize yourself with various model-making tools, such as knives, saws, files, and sandpaper, and learn how to use them effectively and safely.
  4. Experiment with materials: Work with different materials, such as wood, foam, plastic, and metal, to understand their properties and learn how to manipulate them effectively.
  5. Learn computer-aided design (CAD) and 3D modeling software: Proficiency in CAD and 3D modeling software like AutoCAD, SketchUp, Rhino, Blender, or 3ds Max is essential for modern model making.
  6. Embrace new technology: Stay current with emerging technologies like 3D printing, laser cutting, and CNC milling to enhance your model-making capabilities.
  7. Focus on precision and attention to detail: Strive for accuracy and precision in your work, paying close attention to details and dimensions.
  8. Improve your spatial awareness and visualization skills: Develop your ability to visualize designs in three dimensions and understand how different elements relate to one another.
  9. Plan and organize your projects: Create a detailed plan and timeline for your model-making projects to ensure efficient workflow and timely completion.
  10. Be patient and persistent: Model making can be a time-consuming and intricate process. Stay patient and persistent, even when faced with challenges or setbacks.
  11. Learn from others: Collaborate with fellow model makers, architects, and designers to gain insights and learn new techniques from their expertise.
  12. Participate in online forums and communities: Engage with others in the model-making community through online forums and social media groups to share knowledge, ask questions, and learn about new trends.
  13. Attend workshops and conferences: Participate in industry events, workshops, and conferences to learn about new developments, techniques, and technologies.
  14. Take courses or workshops: Enroll in courses or workshops focused on model making, CAD, 3D modeling, or other relevant topics to expand your knowledge and skills.
  15. Document your work: Create a detailed record of your projects, including photographs and descriptions, to track your progress and showcase your skills in a portfolio.
  16. Continuously learn and adapt: Stay informed about industry trends and developments, and be open to learning new skills and techniques as the field evolves.

By following these tips and dedicating time to hone your skills, you can significantly improve your model-making abilities and create high-quality, accurate, and visually engaging models.

ja日本語