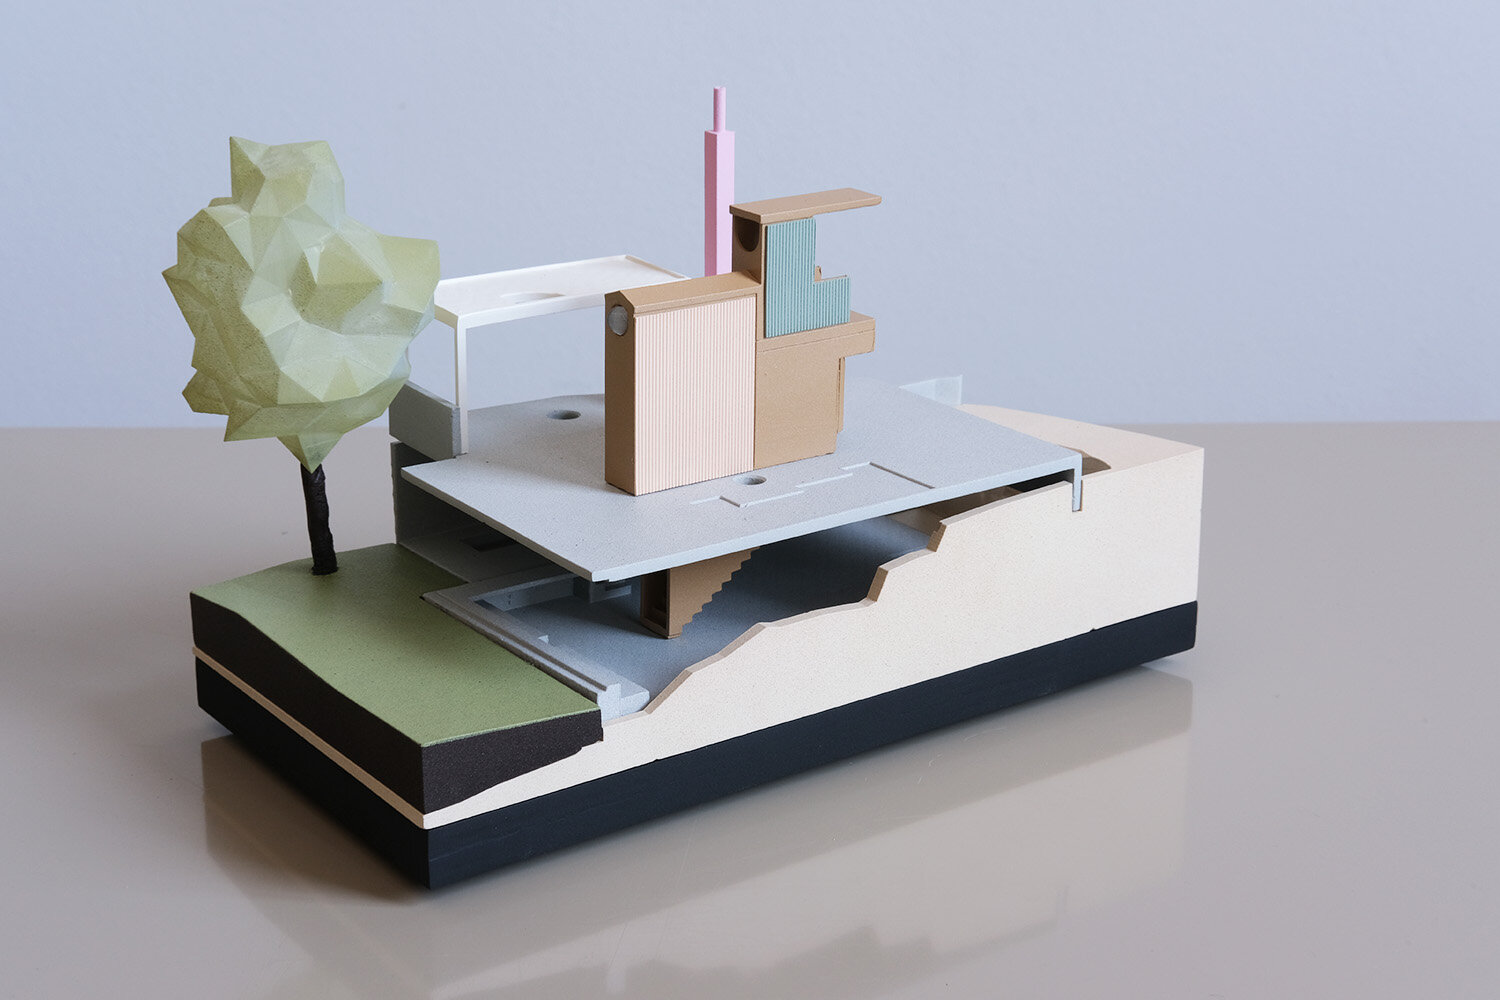
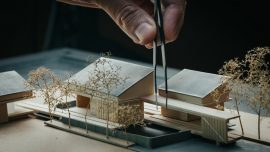
Architectural Model Making Techniques and Tutorial (a step-by-step model build).
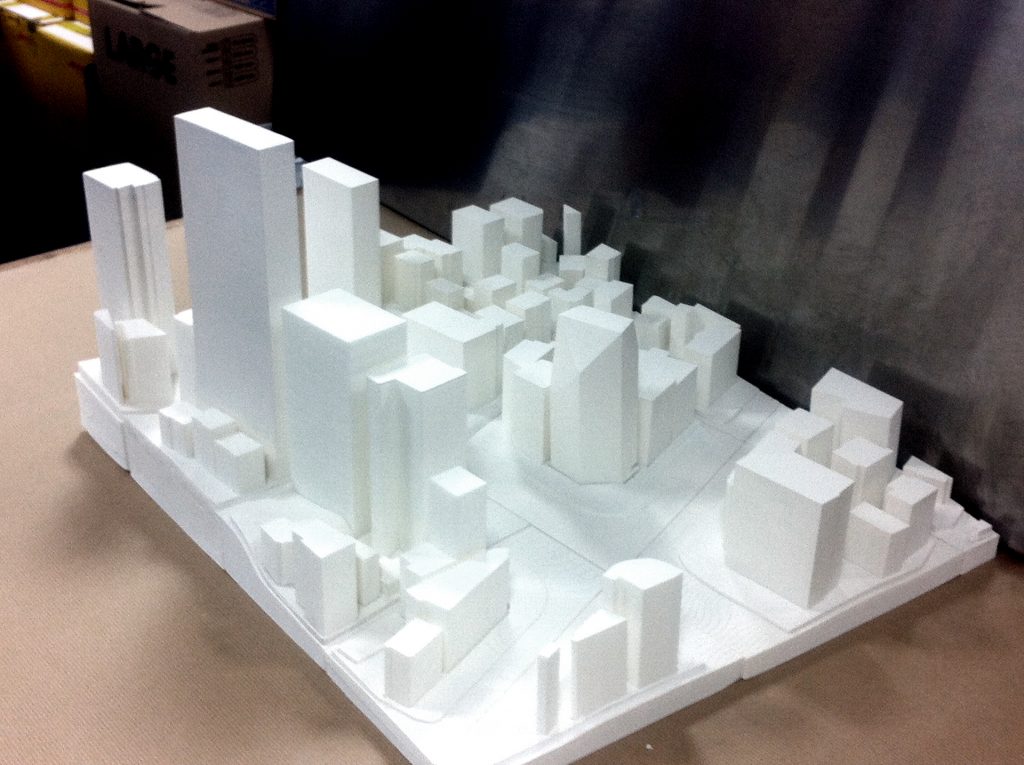
You can use this guide as a starting point and adapt it to your specific project requirements.
Gather materials and tools: Start by collecting the necessary materials and tools, such as foam board, cardboard, balsa wood, basswood, cutting tools, adhesives, and measuring devices.
Choose a scale: Determine an appropriate scale for your model based on the project’s purpose and size. Common scales for architectural models include 1:50, 1:100, and 1:200.
Create a base: Use foam board, plywood, or another rigid material to create a base for your model. Ensure the base is large enough to accommodate your design and any surrounding context.
Transfer your design: Using your architectural drawings, transfer your design to the chosen material by accurately measuring and marking the dimensions of walls, floors, and other elements. You can use a pencil and ruler for this task.
Cut out the elements: Use a sharp hobby knife or other cutting tool to carefully cut out the individual pieces of your model. Be sure to make clean, precise cuts to ensure a professional appearance.
Assemble the model: Begin assembling your model by gluing the walls, floors, and other structural elements together. Use a square or T-square to ensure that your connections are straight and aligned properly.
Add details and finishes: Once the basic structure is assembled, add architectural details such as windows, doors, and cladding. You can also paint or finish your model with stains or other materials to enhance its appearance and realism.
Создайте элементы ландшафта: Если ваша модель включает элементы ландшафта, создайте деревья, растения и другие элементы, используя такие материалы, как проволока, губка или пластиковая листва. Прикрепите эти элементы к основанию с помощью клея или булавок.
Assemble context elements: If your model requires contextual elements such as neighboring buildings or street layouts, create and assemble these components using the same techniques as in steps 4-7.
Final touches and presentation: Once all the elements are assembled, check your model for any imperfections or inaccuracies. Make any necessary adjustments, and clean your model to remove any glue residue or debris. Present your model on a clean, level surface to showcase your design effectively.
This step-by-step guide provides a basic overview of architectural model making. You can adapt and expand on these steps depending on your project’s requirements and the techniques you wish to explore. As you gain experience, you can experiment with different materials, tools, and techniques to develop your own unique model-making style.

0 комментариев
Написать комментарий